Installing terminal box (optional)
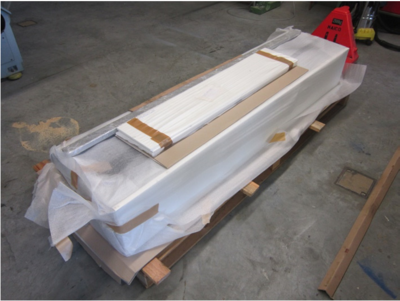
 Store and transport the terminal box in its original packaging. AEREX does not accept any liability for damage caused by incorrect transport or storage.
Observe safety instructions.
The box is delivered on a pallet.
Scope of delivery:
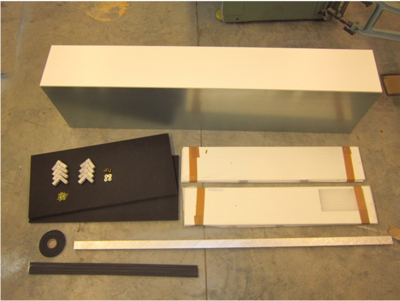
1 x terminal box |
2 x insulation |
4 x cover panel |
2 x aluminium profile |
8 x corner connector |
43 x drilling screw 3.5 x 13 |
4 x M8 threaded screw |
4 x shim |
4 x sealing strip 10 x 10 mm |
1 x roll of sealing strip 10 x 4 mm |
- Produce cut-out in wall / window. Note minimum cross-section area per cut-out (900 H = 0.078 m², 600 H = 0.05 m²)
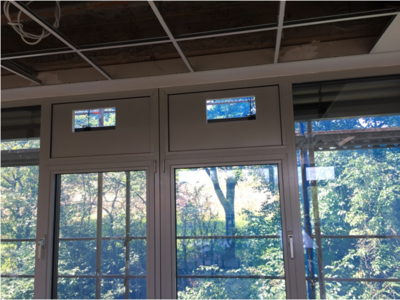
The window cut-outs must be located within the laser-cut areas (image) on the back panel of the terminal box.
- Use the aluminium profile included in the scope of delivery and the eight insert brackets, to create two frames to match the window cut-outs.
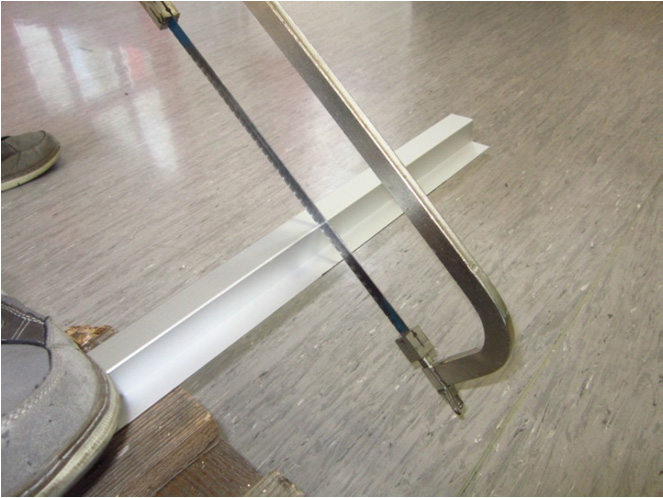
- Affix the sealing strip (10 x 4 mm) to the wide side of the frames.
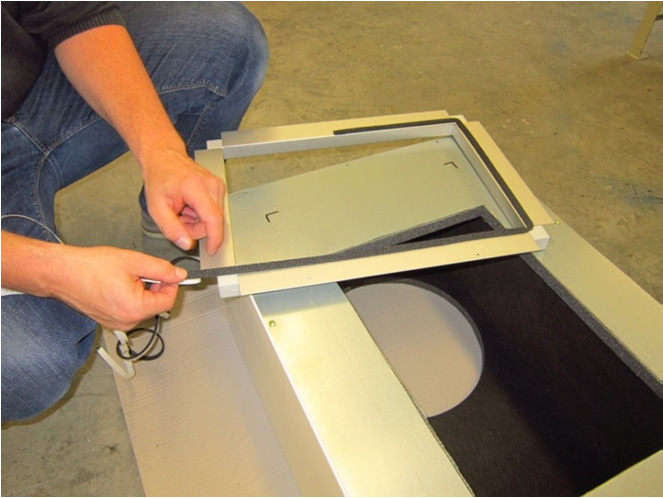
- Affix the 10 x 10 mm sealing strip on the narrow side of the frames.

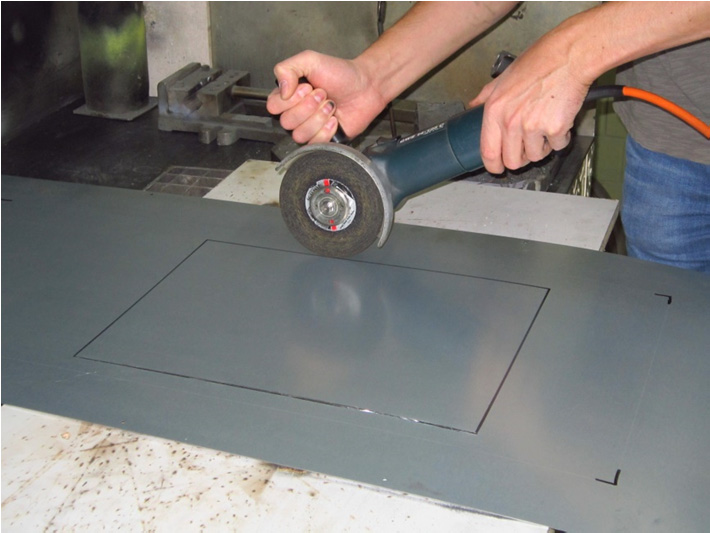
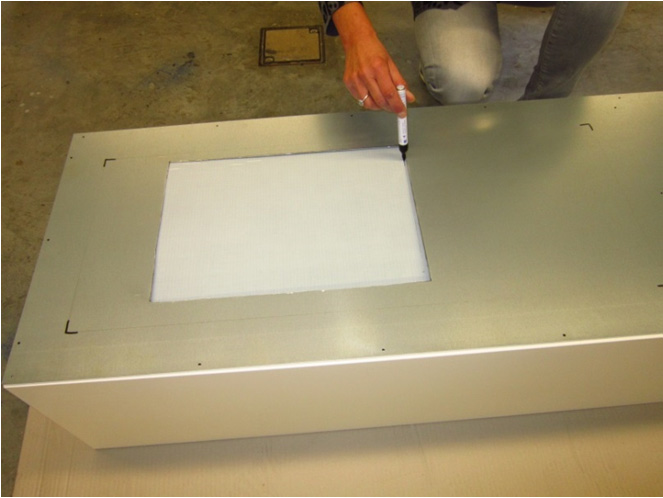
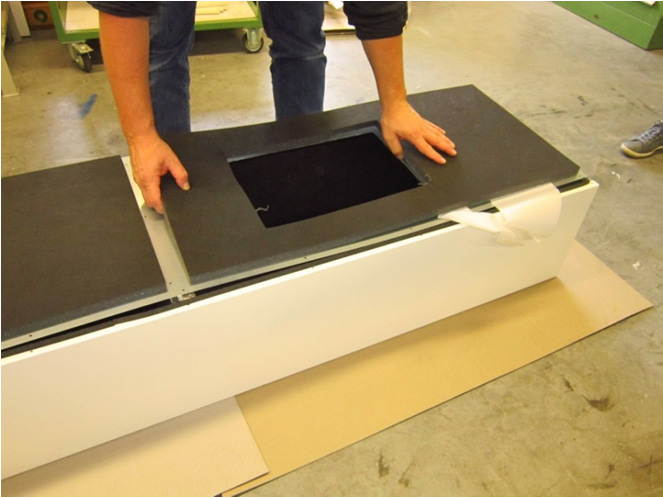
- Draw the planned passage cross-section on the rear panel (supplied loose) of the terminal box.
Please note the two laser-cut rectangles on the outside of the rear panel. Your cut-out must be within each of these rectangles and must not exceed these markings.
Note minimum cross-section area per cut-out: geniovent.x 900 H = 0.078 m², geniovent.x 600 H = 0.05 m².
To transfer the cut-outs onto the rear panel of the terminal box, you can use the connection frame as a template.
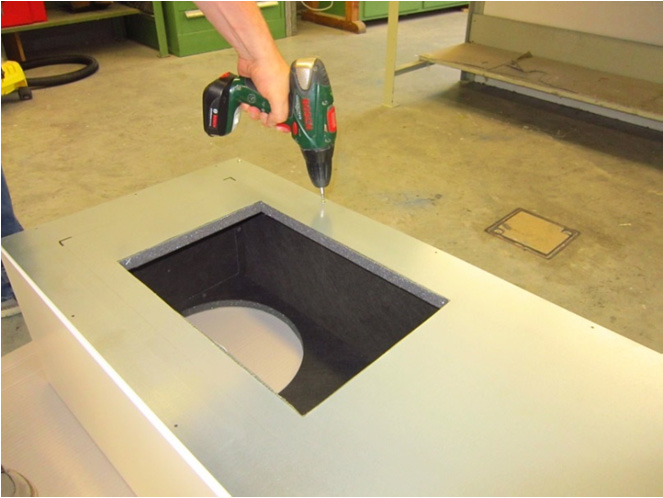
- Cut out sheet metal.
- Once the two cut-outs are completed, adjust the two pieces of thermal insulation (supplied loose) to match the cross-section cut-out and glue them to the inside of the loose rear panel.

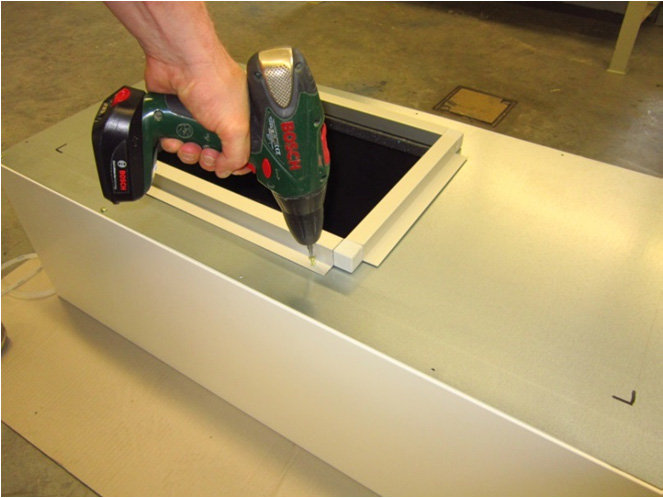
- Screw rear panel, including insulation, to terminal box (27 x drilling screws, 3.5 x 13mm).
- Screw the two connection frames to the terminal box (16 x drilling screws 3.5 x 13 mm).
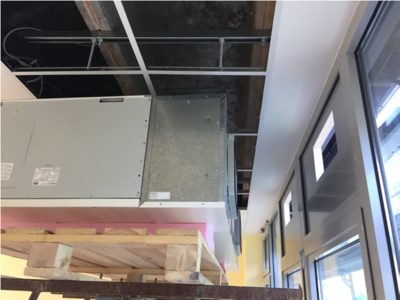
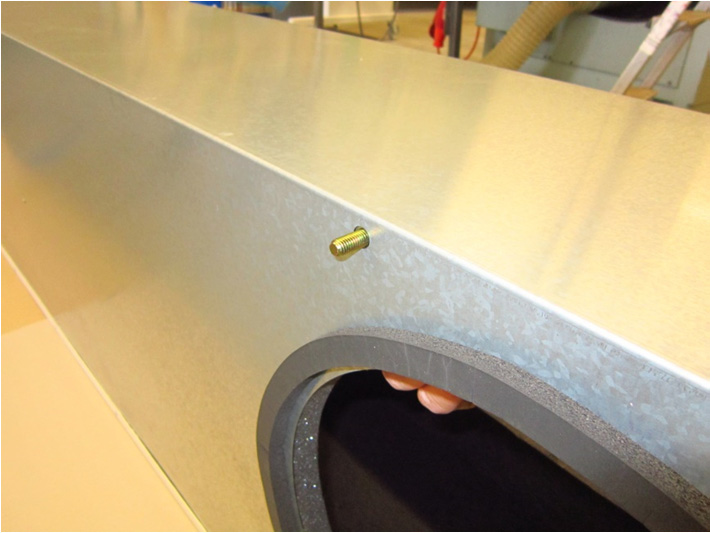
- Use the four M8 x 25 mm screws supplied to permanently screw down the terminal box to the unit.
- Fit the unit (including the mounted terminal box) onto the two designated cut-outs on the façade and screw the façade element to the frame. The sealing strip used provides a sealed connection between the façade element and frame.